Not only is making your own sushi much more affordable than going out to eat, but it can be a lot of fun, too. You can customize your fillings, practice your rolling technique, and savor your favorite food right in your own kitchen. Plus, making perfect sushi rice is as easy as turning on your rice cooker. While you can make sushi rice in a pot on the stove, rice cookers make the process faster and simpler and deliver better, more uniform results.
Shop this article: Spatulas, Wooden Spoons and Woks
Since sushi celebrates fresh ingredients and flavors, you’ll want high-quality sushi rice, specifically short-grain sushi rice. Long-grain rice doesn’t have the same starch composition as short-grain rice, so it won’t develop that essential stickiness. Look for Japonica rice or any rice packaged as “sushi rice” or “Japanese-style short-grain.” Medium-grain Calrose rice will also work in a pinch.
The amount of sushi rice you’ll need depends on how many people you’re feeding and how many rolls you plan to make. You’ll need between 1/3 and 1/2 cups of rice per sushi roll, and each person tends to eat two to three rolls.
Remember that the included rice cooker cup is generally smaller than a standard cup measurement. Depending on the recipe you’re using, you may need to consult the rice cooker’s instructions and do a little math to ensure you’re using the right amounts of rice and water. Generally, one rice cooker cup makes two servings of cooked rice.
Once you’ve figured out how much rice you need, rinse it thoroughly in a fine-mesh colander under running water until the water runs clear. Take the opportunity to check for debris like rice hulls while you perform this step.

The secret to sushi rice’s stickiness? Soak it. This will help the rice grains release more starch, turning them creamy and sticky. Even in rice cookers with a sushi setting, soaking your rice in filtered water for just 30 minutes can improve its texture. Let the rice drain well before loading your rice cooker.
Making sushi in a rice cooker is simple, but some rice cookers make it even easier. Certain rice cooker models have a “sushi” option, which cooks the rice for slightly less time and uses less water to cook the grains without letting them get too soft. If your rice cooker doesn’t have this setting, you have a couple of workarounds:
Add your rice and fresh water to your rice cooker according to the manufacturer's instructions.
If you want, you can add a sheet of kombu (dried kelp) to the rice cooker to add more umami flavor while the rice cooks.
Cooking the sushi rice will take 20 to 30 minutes depending on the rice cooker model. While the rice is cooking, you can also steam other sushi ingredients in the rice cooker’s steamer basket insert. When the rice is done cooking, you should be able to see glossy, defined grains. The rice should feel firm, not mushy.
What differentiates sushi rice from ordinary short-grain rice is seasoning. Once the rice is done cooking, let it rest for ten minutes, then transfer it to a large bowl or a traditional wooden hangiri and fluff it with a fork. Season it while it’s still hot by folding in 1/4 cup rice vinegar per 1.5 cups of rice, using a rice paddle, wooden spoon, or silicone spatula. Use a slicing motion to avoid smashing the delicate rice grains. Finished sushi rice should look shiny from its coating of vinegar, but the grains should still stick together.
You can also add sugar and salt at this stage according to your preference or your sushi recipe. Be sure to dissolve them in the vinegar before adding it to the rice to help the flavors distribute evenly. Alternatively, look for a bottle of “sushi vinegar” or seasoned rice vinegar, which contains added salt and sugar.
Sushi night at home can be easy and fun with sushi-making kits. These kits include traditional tools like a rice paddle and rolling mat, but some may include molds or trays to help you cut exact slices.
Along with your favorite sushi-grade tuna, eel, or salmon, try building your perfect sushi roll using some of these popular ingredients:
Unless you’re practiced at making sushi, stick with just one or two ingredients to make assembling your rolls simpler. This also helps highlight the flavors you’ve chosen.
To help keep bamboo rolling mats clean, roll out the mat on a sheet of plastic wrap and wrap it three to four times to create a clean, nonstick rolling surface.

Place a sheet of nori rough side up on the mat. Remember to moisten your hands before handling the sticky sushi rice. Using your fingers or a paddle, spread the rice onto a piece of nori, leaving space at the top and bottom to ensure your roll can fully close. Lay out your fillings in a line down the middle.

When you’re ready to start rolling, hold the nori and fillings in place with your pointer fingers, then carefully lift the mat and roll the bottom of the seaweed up to enclose the fillings. Squeeze the mat gently to create an even cylinder, then give it an additional partial roll to overlap the exposed seaweed and finish the roll.
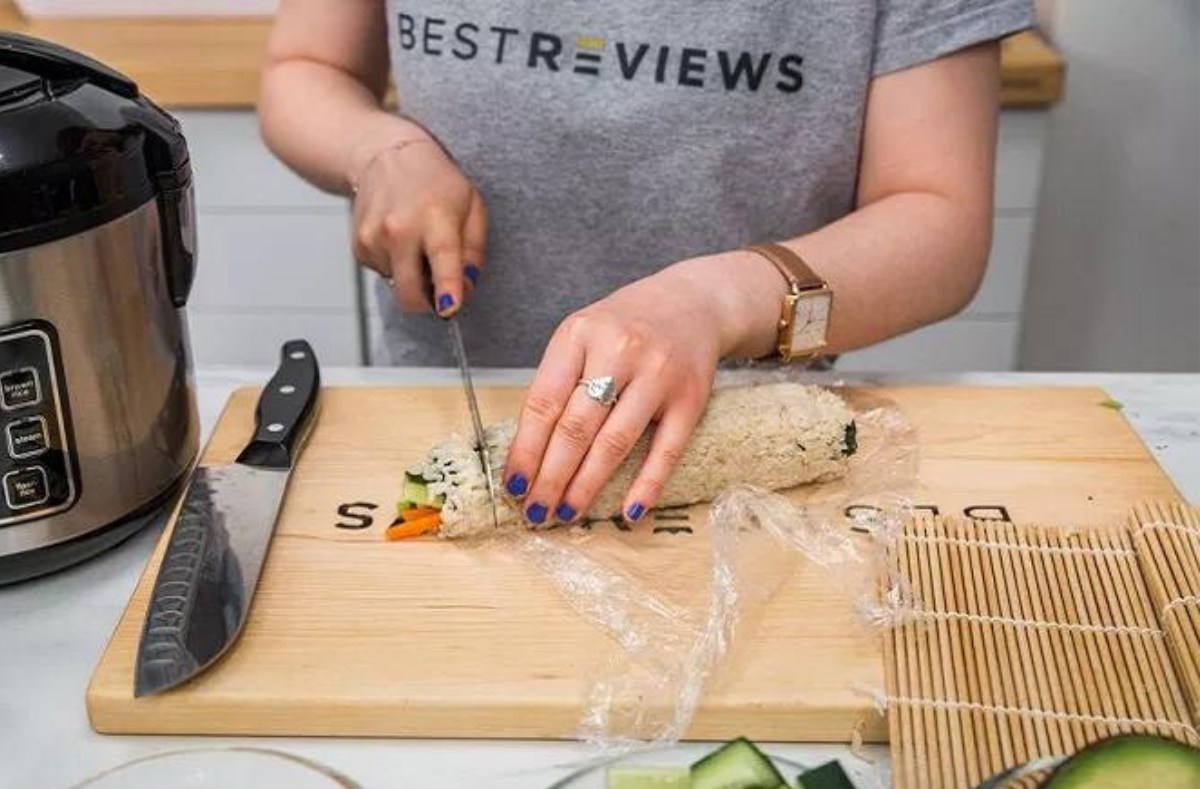
Slice the sushi roll using a sharp knife in a gentle sawing motion. Rinse the knife after each slice for a clean cut.
Cooked sushi rice can be kept in the fridge for up to three days. Use it to make congee or fried rice, stir it into soups, or use it as the base for a poke bowl.
A: Sushi rice should be at room temperature when you make your sushi. Cooling the rice down is important for stopping the cooking process and achieving the perfect texture. However, avoid putting your rice in the fridge or it will dry out.
Instead, spread the seasoned rice out on a baking sheet or casserole dish and cover it with a damp towel. Set it aside to cool down while you prepare the other sushi ingredients. You can also set the rice in front of an electric fan or cool it down with a handheld fan.
A: If you’re having a hard time finding Japanese short-grain rice, arborio, an Italian short-grain rice, can be an acceptable substitute. However, its starches react differently during cooking, forming a dense core that’s a feature of risotto but a distraction in sushi. If you need to use arborio rice, don’t rinse it — you’ll need those extra starches to help the grains stick together.
Want to shop the best products at the best prices? Check out Daily Deals from BestReviews.
Sign up here to receive the BestReviews weekly newsletter for useful advice on new products and noteworthy deals.
Laura Duerr writes for BestReviews. BestReviews has helped millions of consumers simplify their purchasing decisions, saving them time and money.
BestReviews spends thousands of hours researching, analyzing, and testing products to recommend the best picks for most consumers.