Think of the ideal chicken wing. What comes to mind? Perhaps you imagine a savory golden brown treat that’s juicy, flavorful and crisp. A meaty surprise encased by a thin and tasty crunch.
As irresistible as that sounds, the perfect balance of crisp and juicy can be hard to achieve. The outside of the wing could burn before the inside fully cooks. Or the inside might dry out while you’re waiting for the outside to crisp.
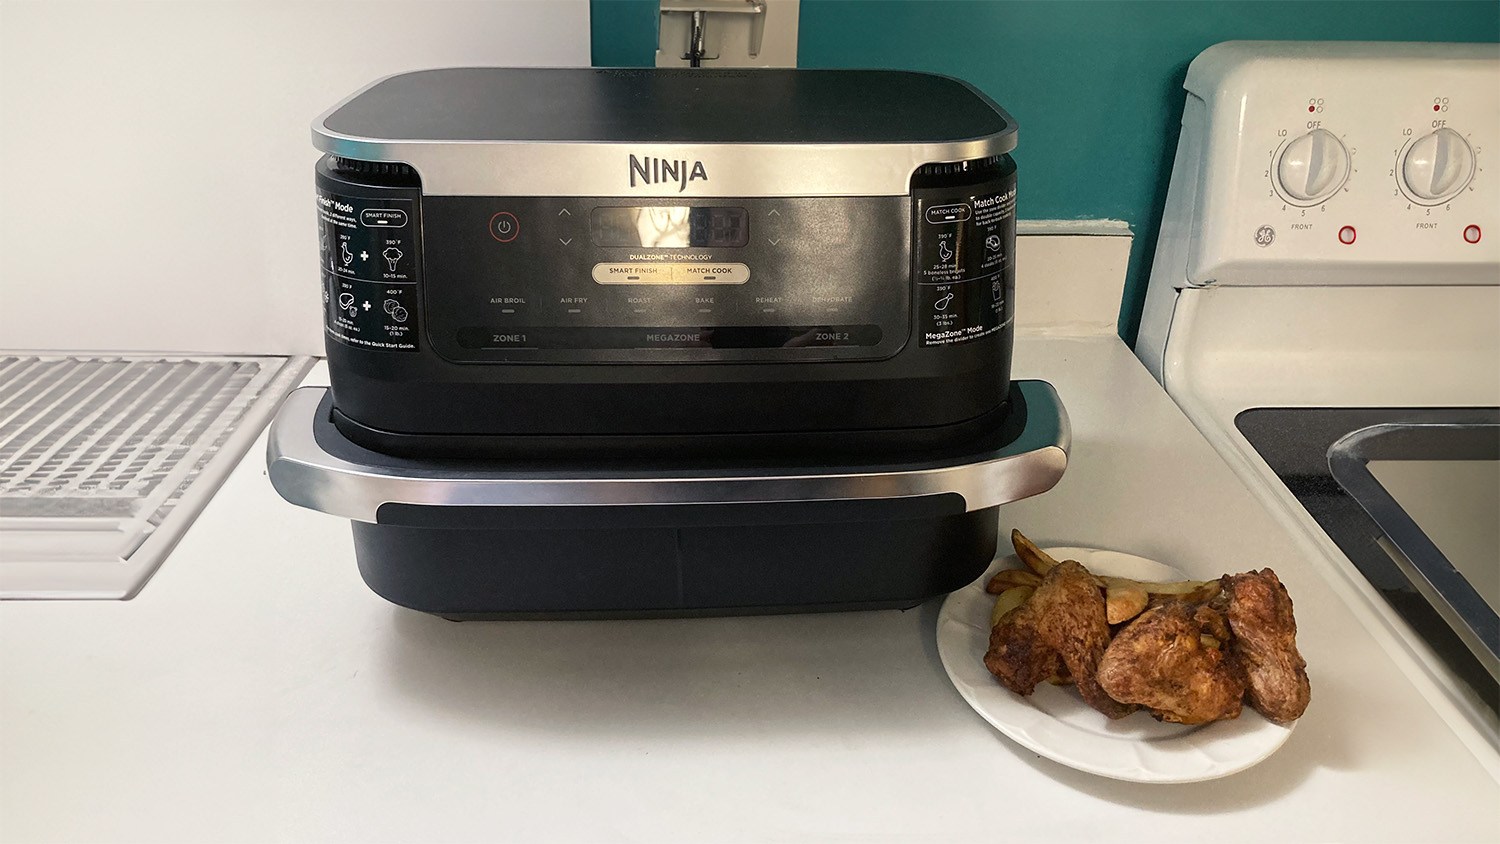
BestReviews has hands-on experience with dozens of air fryers, and we’ve experimented with a wide variety of recipes to discover the best way to prepare air fryer chicken wings. Read our steps and tips to get the job done right.
Before you cook chicken wings, for best results, spend some time preparing them. Your first step is to separate the wings into drums and flats. This makes it easier to heat them evenly.
You also need to make sure they’re fully defrosted and completely dry. If you find any moisture on your wings, pat them dry. Otherwise, they won't crisp as expected.
To avoid using too much oil, measure one tablespoon of olive oil in a small ball. Gently rub it into the chicken skin, covering all areas. You want a thorough yet light oil coating.
Now it’s time to add flavor with a mix of spices. We used a teaspoon of garlic powder, onion powder, paprika and salt mixed with a half teaspoon of pepper. Rub the seasoning into the skin the same way you applied the oil.
The recipe we used requires the air fryer to be set to 400 degrees. From the extensive testing we performed across a variety of brands and models, we learned that different air fryer manufacturers handle preheating in different ways. For example, some models automate the process. You set the temperature and cook time, and the unit automatically adds preheat time before the cooking countdown begins.
The important thing to remember with these models is not to add the food until the machine alerts you that it has reached the desired temperature. Only then should you add the food.
With other models, it’s up to the individual to preheat the air fryer manually. You must set the temperature and turn the air fryer on before adding the food. The process is similar to preheating a traditional oven. When the air fryer reaches the desired temperature (or time), add food and begin cooking.
Smaller models do not always require a preheat time. Consult your owner's manual to learn which approach is recommended for your air fryer.
Remember that not all air fryers are the same. Some are large and some are small. Some have a powerful fan to spread heat quickly and evenly. Some leak a little heat. These minor differences add up and can impact cooking time.
The recipe BestReviews used calls for cooking the wings for 18 minutes at 400 degrees. To promote even cooking, we flipped the wings halfway through.
Depending on the model used, after 18 minutes, we found the chicken wings could be perfect, undercooked or burnt. Our takeaway: Monitor the process until you learn how your air fryer works. If your air fryer has a window, turn on the light and peek in. If it doesn't, you will need to open the drawer and check the progress.

From start to finish, this entire process takes less than 30 minutes. Here's a recap:
Besides these four simple steps, remember that the chicken wings should be placed in the air fryer basket in a single layer. If possible, cook wings that are similar in size to one another. (Larger food takes longer to cook.) Arrange them so they don’t touch each other or the sides of the basket. Finally, use a meat thermometer to make sure the internal temperature of the wings reaches 165 degrees.
A. While it’s not necessary to use oil for air frying, a little oil does produce better, crispier results. A light rub or spray of cooking oil is all you need for air frying.
A. If you’re having trouble with the meat drying out when air frying, a technique you might try is cooking at two different temperatures.
Begin by cooking the chicken wings at 360 degrees for 24 minutes. To finish, crank the heat up to 390 degrees (or higher), and only cook them until the outsides are crisp.
A. The most common reason why chicken wings don’t crisp in an air fryer is moisture. Water prevents crisping. So, pat your wings dry before placing them inside. Arrange them so they aren't touching each other or the sides of the basket. This gives you the best chance of producing a crispy exterior.
A. Cooking chicken wings in an oven can produce similar results to air frying. The main difference is temperature and time. Whereas an air fryer can cook wings in about 20 minutes at 400 degrees, it took us 40 minutes at 425 degrees to produce similar results in an oven.
Want to shop the best products at the best prices? Check out Daily Deals from BestReviews.
Sign up here to receive the BestReviews weekly newsletter for useful advice on new products and noteworthy deals.
Allen Foster writes for BestReviews. BestReviews has helped millions of consumers simplify their purchasing decisions, saving them time and money.