Buying guide for Best home beer brewing kits
Think that nothing is as refreshing as a cold beer on a hot day? Well, what about a cold beer that you brewed yourself in your very own kitchen?
If you’ve never considered home brewing – or have considered it, but dismissed the notion as too difficult – you’re in for a pleasant surprise. While it’s true that brewing your own beer is a time-consuming endeavor, it’s not that hard, even for a beginner. That’s largely due to the many home brew kits available today. These convenient kits provide just about all the equipment you need – often including ingredients – to turn out a batch of your very own beer.
If you’re not sure how to select a home brew kit, you’re in luck. We’ve provided some curated selections along with the information you need to choose and use a home beer-brewing kit
What equipment do you need to brew beer at home?
While it does take a fair amount of equipment to brew beer, most of it is not expensive, and several items are probably already in your kitchen.
The following list covers the basic supplies you’ll need to brew beer using a premade extract (rather than extracting the sugars from the grain yourself prior to fermenting). The majority of beginners’ home-brewing kits contain extract, which cuts out several complicated steps.
Large stockpot with lid
Preferably made of stainless steel, this is the pot you’ll use to boil your ingredients. While a five-gallon stockpot is standard, you can use a smaller pot if you’ll be making smaller batches of brew.
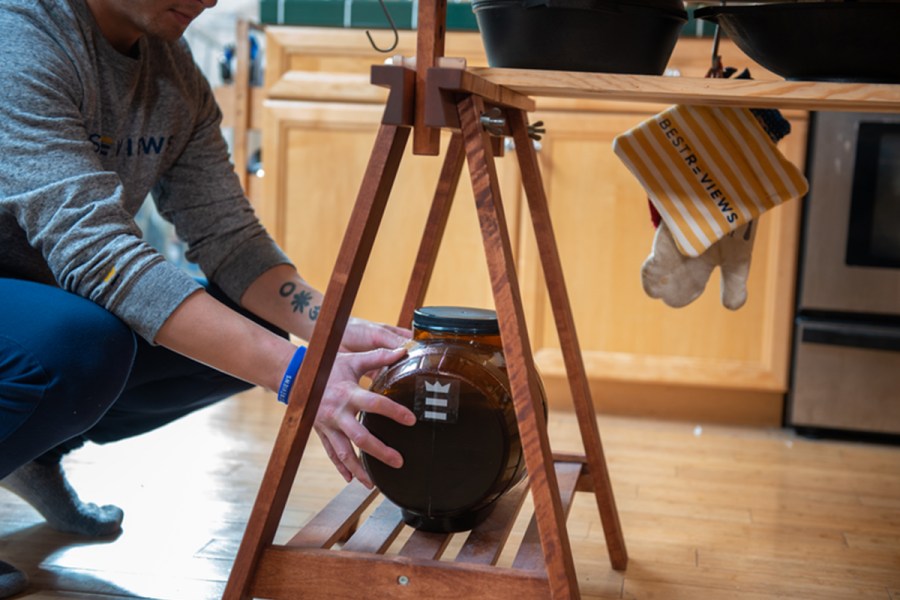
Plastic or glass bucket
Often called a carboy, you'll need this for the fermentation process. The carboy should be the same size as your stockpot. Carboys have an airlock that allows excess CO2 produced during fermentation to escape. A stopper secures the airlock.
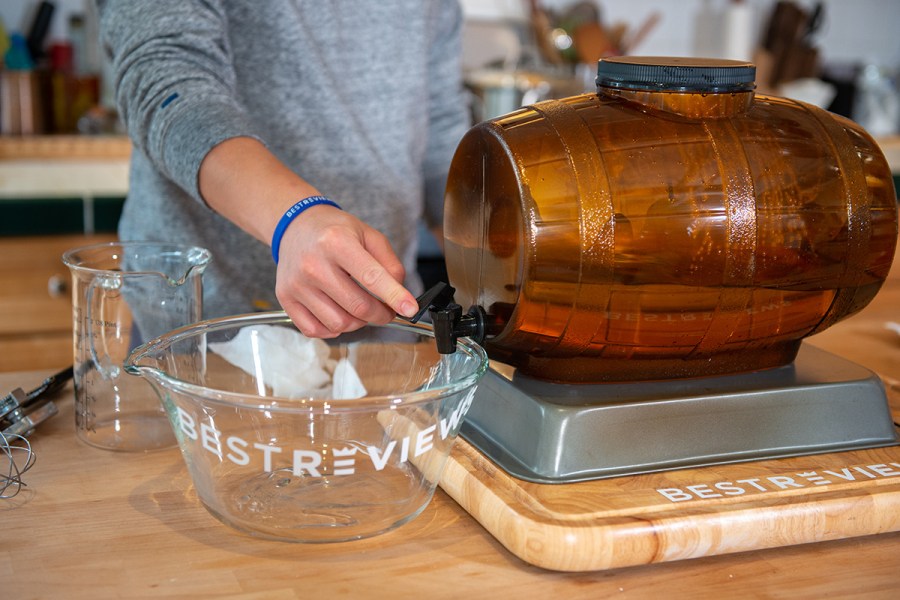
Plastic bottling bucket
This is your fermenting bucket. It needs to have a spigot at the bottom.
Metal stirring spoon
You’ll use this to stir the ingredients as they boil, so make sure it's long enough to reach the bottom of your stockpot.
Did you know?
Prior to fermenting, your beer mixture is called wort (pronounced wert).
STAFF
BestReviews
Auto-siphon or racking cane
You’ll use this to siphon the beer out of the fermenting bucket and into the bottling bucket once your beer is ready to bottle.
Waterproof thermometer
This is to keep a check on the temperature of the brew.
Unscented dish soap and food-grade sanitizer
These items are needed for cleaning your equipment.
Bottle-cleaning brush
This is for scrubbing your bottles before filling them with beer.
Bottle filler and capper
This will simplify the process of filling the bottles.
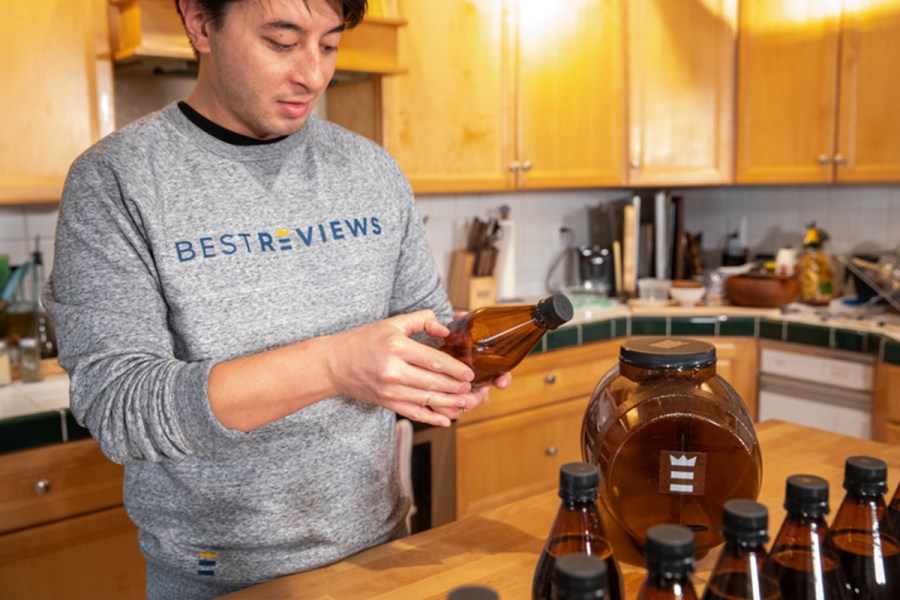
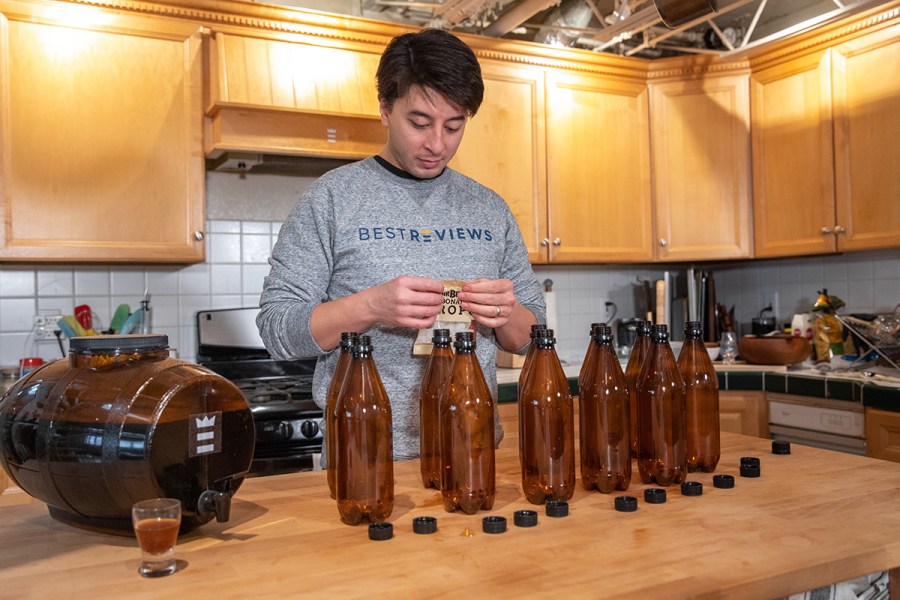
Bottles and caps
These are for storing your homemade brew.
Some home brew kits will include a spout for pouring directly from the container. We assess whether the design of the spout is easy to use.
Many home brew kits will include a container to store your beer while it is fermenting. We research whether the capacity is one gallon or five gallons and weigh the pros and cons of each size.
Certain home brew kits may come with the ability to bottle your own beer after it is brewed. We investigate whether the bottles included will store your fresh beer properly.
Beer brewing is an exact science, so the instructions for your home kit must be clear and concise, which is something we consider.
Certain home brewing kits utilize extracts to provide a unique flavor profile which would normally be hard to accomplish. We do a deep dive into the extracts provided to see if they enhance the kit itself.
Some home brew kits will include the proper malt and grain to produce a beer as experts do, which can also make it harder to create. We weigh the pros and cons of these options.
In order to make beer taste the way it does, carbonation needs to be added to the liquid mixture. We look for home brew kits that provide the user with effective ways to add just the right amount of carbonation.
Most home brew kits will produce either one or five-gallon batches. We research how much each produces and if it provides you with the proper storage solutions for that amount of beer.
While most home brew kits are designed to produce beer, some are designed for other alcoholic beverages. We investigate these unique kits to see how well they work for their respective drink types.
Home brew kits will range in price anywhere from $50-$200 depending on included ingredients, additional capacity, and the quality of the instructions, which are things we consider before adding a product to our list.
What ingredients do you need to make home brew?
Along with equipment, you’ll of course need beer ingredients.
Once you’re an experienced home brewer, you might start buying your ingredients separately at a store that specializes in home brew supplies, but most beginners – and plenty of brewers who are past the beginning stage – appreciate the simplicity of an ingredient kit.
Most beginner supply kits contain ingredients for one batch of beer, so you’ll have to restock after that first batch.
Luckily, there is a huge range of ingredient kits on the market, so you can try a wide variety of beers or stick with a favorite.
The four basic beer ingredients are:
-
Water: Tap water is fine.
-
Malt extract: This is basically concentrated sugar extracted from barley or another grain. Some advanced beer makers mash the grain and extract the sugar themselves, but most beginners use malt extract.
-
Hops: This is the plant that gives beer its distinctive taste and fragrance. There are dozens of varieties of hops, and the variety used determines the type of beer.
-
Brewer’s yeast: This tiny organism ferments the malt sugars to create alcohol. You’ll also need priming sugar and additional flavorings if desired or prescribed in the recipe.
Did you know?
Beer-making kits generally come with ingredients for one batch of beer. You’ll need to buy another ingredient kit before brewing your next batch, but never fear; there are hundreds of ingredient kits available for every variety of beer.
STAFF
BestReviews
About the brewing process
You should always follow your home brew kit’s specific directions, as the brewing process can vary depending on the type of beer and ingredients. However, the following is a rough outline of the basic home-brewing process.
Step 1
Gather up your brewing supplies. Thoroughly clean and sanitize the stock pot and fermenting bucket.
Step 2
Pour one gallon of water – or the amount your kit specifies – into the stock pot and bring it to a boil.
Step 3
Turn off the heat. Add the malt extract to the hot water. Stir the pot constantly until the extract dissolves completely. Return to a boil.
"Different types of beer use different varieties of hops. The portion of the hops plant (its botanical name is Humulus lupulus) used to make beer is the flower, also called the flower cone."
STAFF
BestReviews
Step 4
Add the hops, and boil for the time your kit specifies – usually around 30 minutes to an hour. Your brew is now called “wort.”
Step 5
Fill your clean, sanitized fermenting bucket to the halfway mark with cold water.
Step 6
Add the wort to the fermenter.
Step 7
Add more water until you reach the five-gallon mark. (This assumes you are making a standard five-gallon batch of beer.)
Step 8
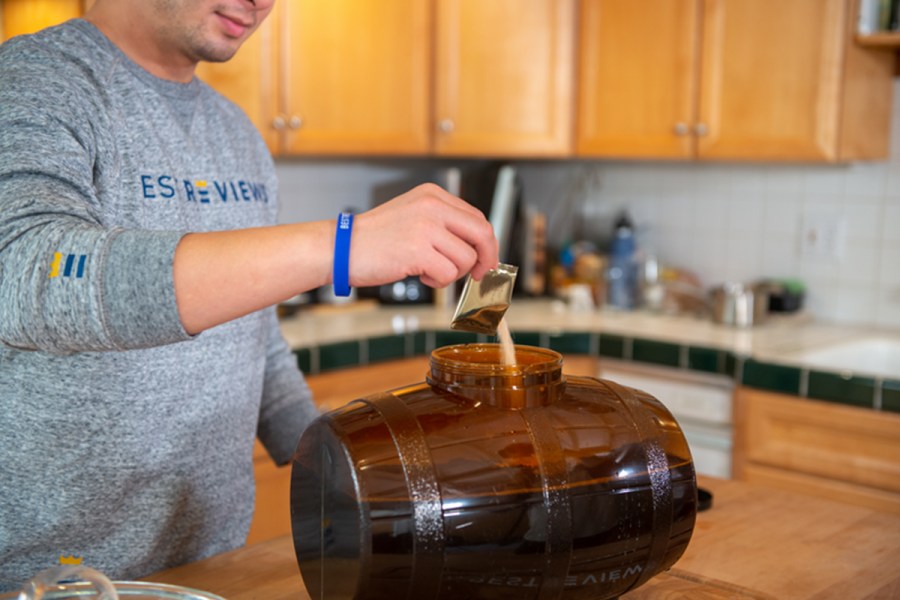
Use your thermometer to track temperature. Once the wort reaches between 70°F and 75°F, add the brewer’s yeast.
Step 9
Make sure your airlock and stopper are in place, and then put the lid on the fermenting bucket. Shake the bucket gently for a couple of minutes. This helps oxygenate the yeast.
Step 10
Now the waiting period starts. Set your fermenting bucket in an undisturbed, room-temperature spot. Within a couple of days, you should see the characteristic bubbling of fermentation in the airlock.
Step 11
In three to four weeks (your kit will specify the time period), your beer will be ready for the next step: carbonation.
Step 12
Boil two cups of water (or the amount specified in your brewing kit) and add the priming sugar. Boil until the sugar dissolves completely.
Step 13
Pour the sugar solution into your clean, sanitized bottling bucket.
"It’s common to have a bit of sediment at the bottom of your bottle when the beer is ready to drink. Simply discard this sediment."
STAFF
BestReviews
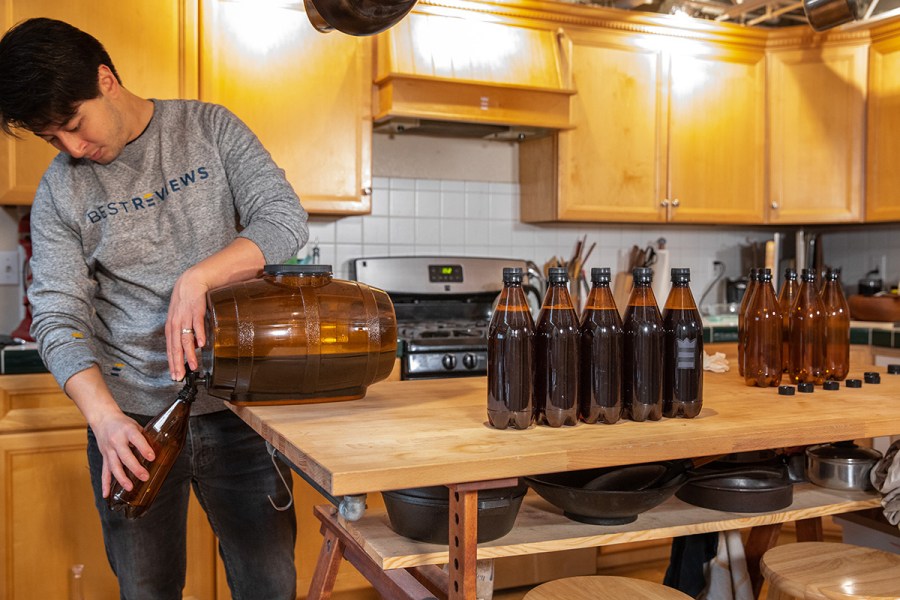
Step 14
Transfer the beer from the fermenting bucket to the bottling bucket with a cleaned, sanitized siphon or racking cane. You’ll see sludge at the bottom of the fermenting bucket; leave the sludge behind and just pour the liquid beer into the bottling bucket.
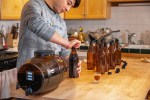
Step 15
Fill your clean, sanitized bottles with beer. Leave a little under an inch of headroom at the top of the bottle.
Step 16
Cap the bottles tightly.
Step 17
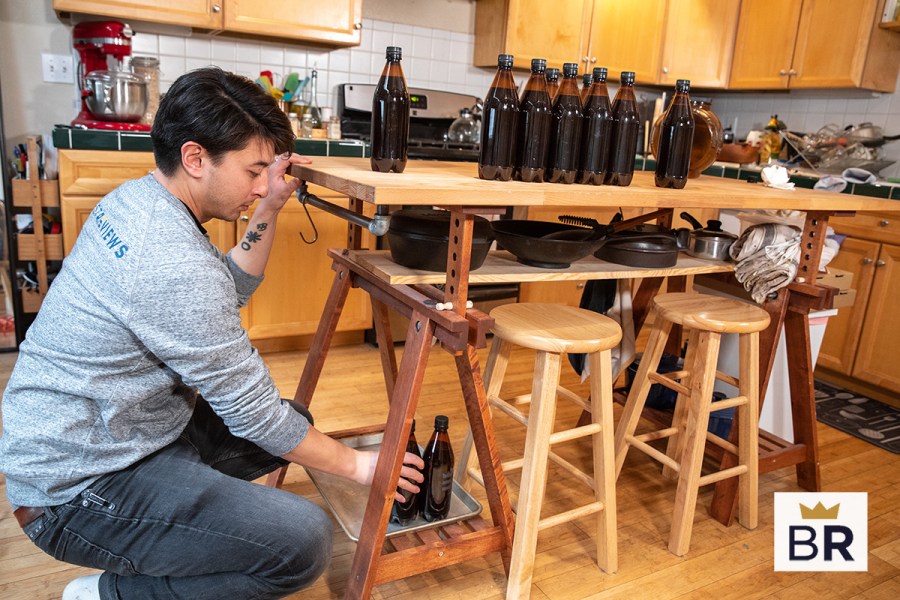
Store the capped bottles in an undisturbed, room-temperature spot for two to three weeks. During this period, carbonation is taking place.
Step 18
Chill a bottle, crack it open, and enjoy! If the beer tastes a little flat, let the rest of the bottles carbonate for another week.
"A five-gallon batch of beer will fill 48 12-ounce bottles."
STAFF
BestReviews
Considerations when choosing a home brew kit
There are quite a few home brew kits out there, so ask yourself the following questions to determine which is best for you. Your answers will guide you to the best home brew kit for your needs and preferences.
-
Does the kit contain all or most of the equipment you’ll need? Certain supplies are often sold separately, particularly bottles.
-
Does the kit have equipment you don’t need? For instance, you may already own a five-gallon stock pot.
-
Does the kit include clear written directions? Does the company have a website with videos or instructions that are more detailed? The internet is a rich source for beer-making instructions and videos.
-
Does the kit include ingredients? If so, do you like the variety of beer it produces? Keep in mind that you can purchase different varieties of ingredient for future batches.
-
How large of a batch does the kit produce? While five gallons per batch is standard, there are also one-gallon kits if you don’t want too much beer or are short on space for storage.
-
Do you want to brew with extracts, which is easiest for beginners, or are you ready to try an all-grain recipe, which is more complicated but allows you the greatest freedom to flavor the beer just the way you like it? Keep in mind that all-grain recipes require a few more pieces of equipment than the extract kits.
-
Is the kit within your budget? Most good-quality home brew kits cost between $100 and $200. Less-expensive home brew kits may include supplies of poorer quality.
FAQ
Q. What are the benefits to buying a kit rather than purchasing equipment separately?
A. While you can of course buy your equipment separately – this can be a good option if you already own most of the supplies – for most people, a kit is far more convenient and economical.
Q. Is there any way to speed up the brewing process?
A. Good things in life often take time, and beer is no exception. Don’t rush your brewing process, or you’ll end up with flat, disappointing results.
Q. Does homemade beer taste as good as beer from the store?
A. Sometimes it tastes better; sometimes it does not. There is no easy answer to this question. Your results depend on your degree of care in following instructions, the quality of the ingredients you use, the temperature at which you store the beer while it ferments and carbonates, and a little bit of luck. But the more you brew, the better you’ll get. Many craft brewers began perfecting their craft by brewing at home.